If you want to get your house ready to sell in 30 days, you’ll need to craft a solid plan, hire a reliable team, and muster up the tenacity to stay on task. Miss a pre-listing chore or rush a home improvement, and you risk delays or cuts to your bottom line. Stay on track with our 30-day guide for preparing your home for sale. We’ll walk you through your daily to-do list, complete with step-by-step instructions and expert tips so you can whip your home into shape on deadline. For added expertise on how to nail the pre-listing process, we spoke with Toril Schoepfer and Lisa Hudson, two top real estate agents in Sumner, Washington. Working with 69% more single-family homes than the average agent in their area, this team knows just what it takes to sell a house in 30 days without compromising on sale price. While the month ahead won’t be easy, trust us, you’ll feel nothing short of amazing when you collect that paycheck at closing, cashing in on your hard work. If you want to sell your house in 30 days, you have a couple of options: you can list your house on the market with a real estate agent or sell your house for cash to an instant buyer. Dedicate your first week to researching your options. First, determine where you stand on your mortgage by calculating your home equity — the current value of your home minus what you owe on your loan. Estimate your home’s current value with a free online home value estimator such as Home Value Estimator. Then, calculate your home equity by subtracting your outstanding mortgage balance from your estimated home value. Your home equity may influence your options for selling your home in 30 days as well as your next steps. If you’ve got a nice nest egg, it will only justify your decision to move and put that money toward a bigger home or your retirement. On the other hand, with limited equity, you may want to weigh whether selling your home now is the best option — or if you should hold onto the investment a bit longer. It costs money to sell a home, anywhere from 9%-10% of the sale price. So the proceeds from the sale need to cover those expenses and then some if you hope to make a profit. If you’re in a pinch to sell your house ASAP, it’s worth exploring how much a cash buyer would pay for your home as-is. When you sell your home to a cash buyer, you skip the lengthy process (and headaches) required to prepare your home for the market. On the other hand, that convenience often comes at a cost: higher transaction fees that reduce your final pay at closing. To quickly evaluate your options, you can request a cash offer on your home with HomeLight’s Simple Sale platform. Fill out basic information about your home and location, and we’ll determine which iBuyer is the best match for you based on their past transaction history, target price range, and the types of property they’re willing to purchase. Simple Sale will also display how much you’d make selling your home to a cash buyer side-by-side with how much you’d make selling your house on the open market with the help of a top agent. If you stick to selling your home on the market, you’ll need to partner with a top real estate agent to achieve your 30-day listing mission. Reach out to your network for referrals and compare local agents online with HomeLight’s Agent Finder. Our system analyzes millions of real estate transactions to compare agents based on years of experience, transaction volume, average price point, speed of sale, specialties, and client reviews to match you with top agents suited to sell your home. Screen at least three real estate agents by conducting quick, 15-minute phone interviews. At the start of the call, communicate the goal of listing your home in 30 days so the agent may recommend the most relevant selling strategies. “We’re really in tune with our clients. We want to know your goal so we can help you achieve it,” Hudson comments. Here are a few questions you should ask your prospective agents: The next day, compare your candidates and choose the agent who you feel is the best match. You want to hire an agent who ticks all of these boxes: When it’s a toss up between two stellar agents, go with your gut. Your agent will be your right-hand man or woman throughout the transaction process, so you’ll want to partner with the agent with whom you feel the strongest personal connection. Once you’ve teamed up with a top agent, schedule a walkthrough so your agent can see your home in person. During the walkthrough, your agent will suggest repairs, staging, and other preparations that will help attract buyers in your particular market. “We don’t want clients to prep before we come through. We want to see the house in its raw form so that we can save them time, energy and money,” explains Hudson. “A lot of times, sellers think, based on home shows, that they should do this or that. We don’t want them spending a dollar unless they are getting $5 in return.” Take notes on your agent’s suggestions and create a to-do list for DIY and hire-out projects that you’ll need to complete before listing. Precise pricing is essential to pulling off a fast sale. If you overprice your home, it’s likely to sit on the market, growing less desirable to buyers. To determine your home’s fair market value, your agent will conduct a comparative market analysis comparing your home’s features, size, condition, and more to similar homes that recently sold in your area. Once your agent narrows in on the fair market value, they will work with you to set a listing price that is at or slightly below that number, depending on your market conditions and selling priorities. Next, create a budget for all of the items on your pre-listing to-do list. To get you started, here is a rundown of some common home improvements and their average price tags: Keeping your home improvement budget in mind, vet and hire reputable contractors for hire-out jobs on your to-do list. You can kick-off your hiring process by asking your real estate agent if they can refer you to any trusted professionals in their network. If you don’t take the referral route, you can compare reviews and hire professionals on websites such as Thumbtack and HomeAdvisor. Both Schoepfer and Hudson agree that cleaning, decluttering, and home staging are some of the most impactful pre-listing activities. Dedicate Week 2 to gussying your home up for listing photos and upcoming in-person showings. In HomeLight’s Top Agent Insights Report for Q1 2019, 98.45% of top real estate agents recommend that homeowners declutter their home before listing. For an average project cost of $486, decluttering adds a whopping $2,584 in value to your home — that’s a 432% return on investment. “Empty the spaces that make you money,” advises Hudson. “I call them the money areas: the main living area, kitchen, front of the home, master bedroom, and bath . . . We’re looking for clean lines and minimal distractions.” Keep your sanity in the decluttering chaos by maintaining three separate boxes and garbage bags for trash, donations, and recycling. Pack up items that you won’t need until you’re in your new home into labeled moving boxes. Hudson recommends storing these boxes in the garage for the listing period, stating that a box-filled garage is not going to make you a penny more or a penny less. “If the garage is full, take one spare bedroom — the least attractive spare bedroom — and pack that with the contents. People know that you’re moving anyway, so it’s not going to hurt you,” Hudson adds. It’s time to temporarily say goodbye to family photos, novelty collections, religious decorations, and sports team regalia. Pack these up and store them in the garage or a closet for the duration of your home listing. By depersonalizing every room, you encourage buyers to focus on your property’s structural elements, as well as boost their ability to envision themselves living in the home. Old lighting fixtures date your home as fast as popcorn ceilings. For an instant update, replace worn and dated lighting fixtures — especially those in the common areas such as the living room, dining room, and kitchen — with newer models. For broad buyer appeal, opt for transitional style fixtures that balance contemporary and traditional design, such as the Gusman 5 – Light Candle Style Wagon Wheel Chandelier or Mared 1-Light Armed Sconce from Wayfair. Keep in mind that you should hire a licensed electrician to complete this task unless you have previous electrical experience with lighting. Along with lighting fixtures, update dingy hardware including drawer pulls and knobs, door handles, hinges, and towel racks. Choose simple designs with a black or brushed chrome finish like these: For a quick swap out, always choose hardware that fits the existing holes in your cabinets; in other words, replace pulls with pulls and knobs with knobs. Leaky faucet? It’s time to tighten things up and put the drip-drop to a quick stop. Dedicate Day 13 to tackling small repairs so buyers trust that your home is in excellent condition. Here is a list of some easy yet essential repairs: While your daughter adores her bubblegum bedroom, your buyers see pink walls as a problem to fix. Paint your home’s interior a light, neutral shade of gray or beige. Choose a paint color that is two shades lighter or darker than your flooring for adequate contrast, matching paint’s undertone to that of the flooring. For example, golden oak flooring pairs best with a warm-toned beige paint, while espresso flooring complements cooler shades of gray paint. To narrow down your options, here are a few of the most popular paint colors for selling your home, according to real estate agents: According to HomeLight’s recent Top Agent Insights Report, more than 67% of agents agree that staging increases the sale price of a home. With strategic staging, your interior looks larger and more contemporary, increasing buyers’ perceived value of the house. Staging also helps buyers visualize themselves living in the home since their attention is not diverted by the current homeowner’s interior design tastes or personal effects. Depending on your budget, you can hire a professional stager or partner with your agent to stage your home following these top home staging tips: Now that you’ve refreshed the inside of your home, it’s time to dial up your curb appeal. According to HomeLight’s Top Agent Insights Q2 2019 Report, 76% of top agents agree that great curb appeal is the number one thing you can do to increase your home’s marketability. Thankfully, beautiful curb appeal doesn’t require a massive budget. 70% of agents surveyed recommend spending $1,000 or less, with over a third recommending a budget of $500 or less. Flowers are the best way to add charm and color to your exterior. Head to a local nursery or chain like Home Depot or Lowes to purchase some flowers for your planter beds and pots. Some tried-and-true flower options include: In the colder months, curate cheerful curb appeal with small potted evergreens at your entry and a dried wreath on your front door. The following day, roll up your sleeves and plant your new flowers and shrubs. Follow these best practices for planting to ensure your plants live through your listing period: When landscaping for listing, don’t skip the mulch! Mulch instantly upgrades curb appeal for as little as $15 per yard, giving your front yard a “finished” look. To estimate how much mulch you’ll need, plug your planter bed dimensions into a mulch estimator, such as Home Depot’s Mulch Calculator. If your front door is looking drab, punch it up with a fresh coat of paint. When choosing a color, take into account the color and undertones of your exterior siding and masonry. Classic door colors — navy, dark green, and black — appeal to the widest range of buyers. Red is another popular choice, carrying positive associations such as luck and protection. When in doubt, ask your real estate agent for a second opinion; they’ll help you choose the best color to appeal to buyers in your market. Power washing is an excellent way to get rid of pollen, mold, and dirt packed into your walkway and driveway. Rent a pressure washer from a home improvement store such as Home Depot or Lowe’s for around $30, depending on the rental length. When spaying your home’s exterior, set the pressure washer to the appropriate pounds per square inch (psi) to protect the paint. If you pressure wash concrete, you may want to finish the project by applying fresh sealant to ward off future stains. Don’t let your curb appeal cease when the sun goes down. Garnish your home with exterior lighting so your home glows in dramatic nighttime listing photos. Start by lighting up the walkway to your home with evenly spaced solar powered lights. Next, update or install an entry sconce to brighten the front door, matching the fixture’s finish to the door hardware. For added dimension, place spotlights in front of prominent trees, fountains, or other attractive features in the front yard. Finally, light up your house numbers to help buyers identify the property if they drive by at night. Grab a broom and your favorite cleaning supplies to wipe down your front porch or entryway. Remove cobwebs and dirt build-up from railings, pillars, lighting fixtures, and the mailbox. If space permits, stage a pair of rocking chairs or a bench with a couple of accent pillows. Then accessorize the space with a glazed ceramic planter full of bright flowers and a new welcome mat. Outdoor entertaining spaces are an in-demand feature with buyers, especially in the post-coronavirus world. Stage your backyard as you would your interior: declutter junk and personal items, arrange neutral colored furniture, and add pops of color with smaller accessories. You can easily create a dining area with a matching set like this 5-piece bar height outdoor patio set for $999 or arrange a lounge area with an upholstered outdoor sectional and coffee table. Place an outdoor area rug under the furniture for a soft, inviting feel. Lastly, add charm with table decorations like lanterns and small potted plants. You’re on the home stretch now, nearing your goal to sell your house in 30 days! It’s time to finish some final preparations and create your property listing. Schoepher and Hudson stress the importance of deep cleaning your home regardless of if you have a 30-day deadline to sell or not. For a truly deep clean, follow HomeLight’s comprehensive cleaning checklist, simplified below: Kitchen: Bathrooms: Living spaces: The entire house: If you prefer to leave cleaning to the pros, hire a reliable cleaning service to tackle the job. Read company reviews to narrow down your options, then personally vet your finalists with the following questions: Traditionally, a home inspection takes place after a buyer has made an offer on your house. Once the buyer receives the home inspection report, they often will try to negotiate a lower price based on needed or upcoming repairs. If you want a fast sale, you can schedule a pre-listing home inspection so you can provide buyers with the inspection’s findings before they make an offer. This way, buyers know what they’re walking into before they make an offer, speeding up the closing process. If you want to sell your home in 30 days, you need stunning, professional listing photos to attract buyers online. According to the National Association of Realtors, 44% of recent buyers started their home buying process by looking at properties online; 87% of these buyers stated that listing photos were the most important website feature to evaluating homes. Ask your real estate agent if they include professional listing photos in their services or if they can recommend a top photographer at an additional cost. Hudson explains how her team helps sellers prepare for the listing photos: “We have a photo prep list that we send to our clients. We don’t just walk through and tell them what to do. We give them the resources to get it done.” Follow this photography prep list to ensure a smooth photoshoot: On the day of the photoshoot, tuck away all personal items, including kids’ toys and pet accessories. If you’re at home while the photographer is working, you can help out where needed. If not, your agent may join the photographer to ensure that they complete the entire shot list. Depending on the state you live in, you must fill out several documents when selling your home. Ask your real estate agent to provide you with these documents and ask if they need any additional property information from you to complete the listing. Here are a few tasks that you may need to complete on this day: Once you list your home, buyers will begin to reach out to your real estate agent to schedule showings. You can expect most buyers to request showings on the weekends or after 5 p.m. on weekdays, so try to block off some time in these windows for buyers to visit your home. Share your availability with your real estate agent so they can quickly schedule showings once requests start pouring in. Remember, your family and pets will need to disappear for the duration of these showings, so plan accordingly. Does the new bistro set on the porch need a couple of throw pillows? Did you little one scuff up the baseboard in the kitchen? Are you and your agent clear about how to prep the home before each showing? Now is the time to address all last-minute details. Congratulations on making it to Day 30! It’s time for your real estate agent to list your home on the market. They will upload your listing description and photos to the MLS, the online database where real estate agents can view your home and share it with their buyer clients. Once your listing is live, all you need to do is keep your home tidy for upcoming showings and wait for offers to roll in — not to mention pat yourself on the back for completing your 30-day listing sprint.Week 1: Finalize your strategy and assemble your team
Day 1: Estimate your home equity
Day 2: Determine if you want to list your home on the market or sell for cash
Day 3: Interview at least three real estate agents
Day 4: Hire the agent you’re most confident in
Day 5: Conduct an initial walkthrough
Day 6: Settle on a list price
Day 7: Create a budget for updates
Day 8: Make arrangements with contractors and other professionals
Week 2: Prepare the interior of your home
Day 9: Ruthlessly declutter your entire home
Day 10: Depersonalize your home
Day 11: Replace old lighting fixtures
Day 12: Swap out dated hardware
Day 13: Tackle DIY repairs throughout your home
Day 14: Freshen up the paint
Day 15: Stage your home to boost value and marketability
Week 3: Enhance your curb appeal
Day 16: Shop for flowers and shrubs
Day 17: Install your plants and mulch the beds
Day 18: Paint your front door
Day 19: Powerwash the driveway, walkway, and home exterior
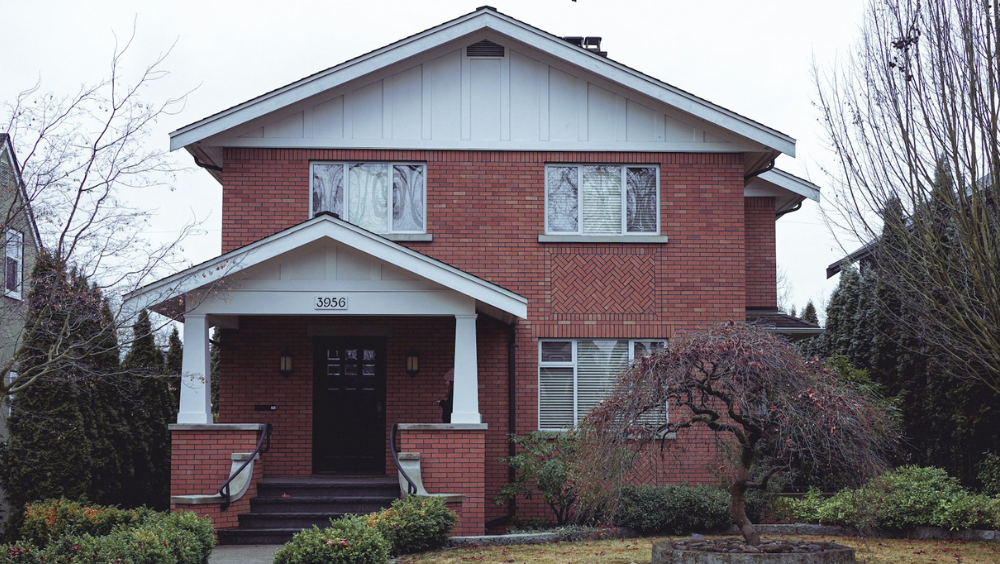
Day 20: Curate an exterior lighting scheme
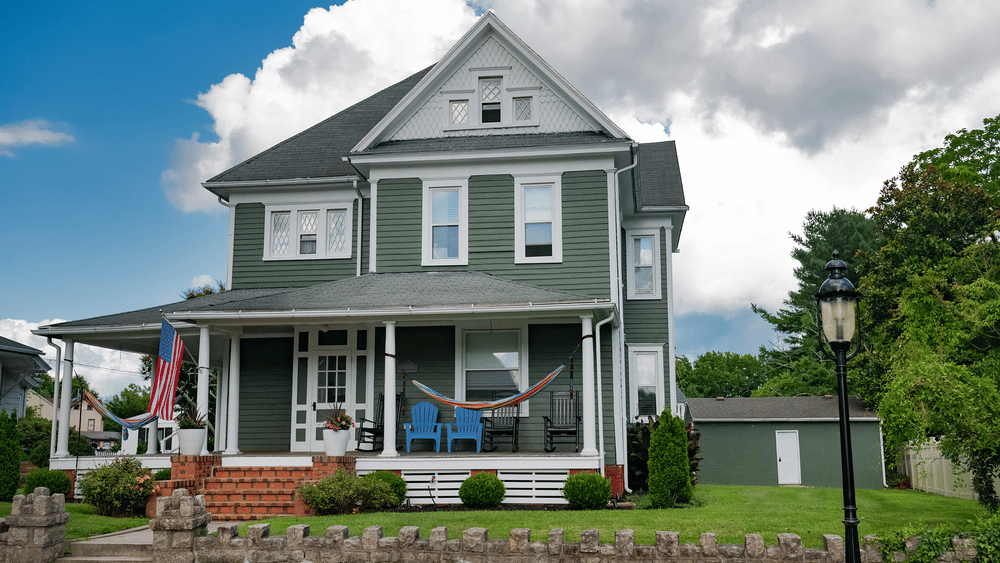
Day 21: Style an inviting entryway
Day 22: Stage a backyard entertaining area
Week 4: Tackle any final listing preparations
Day 23: Deep clean the whole house
Day 24: Schedule a pre-listing home inspection
Day 25: Prepare your home for the listing photographer
Day 26: Assist the photographer during the photoshoot if needed
Day 27: Fill out required seller paperwork
Day 28: Provide your agent with your availability for showings
Day 29: Tie up any loose ends
Day 30: List your home on the market