You are very close to owning your new home. You have prepared the closing paperwork, and your new dig has passed the inspection. And your dream of owning a house is just on the other side of the hill, provided the final walkthrough goes all right.
A final walkthrough before closing, specifically, is an inspection of the property, and it allows you to reconfirm the condition of the house before closing. Many home walkthroughs reveal no issues or problems, and even if they do, many issues are easily fixed.
Do not make the mistake of using the final walk through as a means of getting one final look at your dream house right before you move in. This is because the property’s final walk-through is your final chance to make sure that everything is in proper working condition. And if that is not the case, you may still raise an issue, or you can even back out of the deal.
What is a Final Walkthrough?
A final walkthrough is the final inspection of a property by the homebuyer before closing. You may complete a final walk through checklist to check all the repairs that the seller made as per your agreement, before you finally sign the closing papers.
You can perform a walkthrough anywhere from a couple of days to a few hours before home closing. And if something is not right, you should request the seller to fix any problems or issues before the sale is closed.
Important: Address ALL Issues
Sometimes, a home inspection turns up several issues that need addressing so make sure you use that new home walkthrough checklist. Note that the final walkthrough is your opportunity to ensure that the seller completed the repairs and replacements as per any agreed-upon specifications.
Note that in the case of known repairs, you should request documentation of who completed the repair and when, as it is an essential step.
Final Walkthrough Checklist
A Checklist for the Exterior
- Check for any debris outside the house
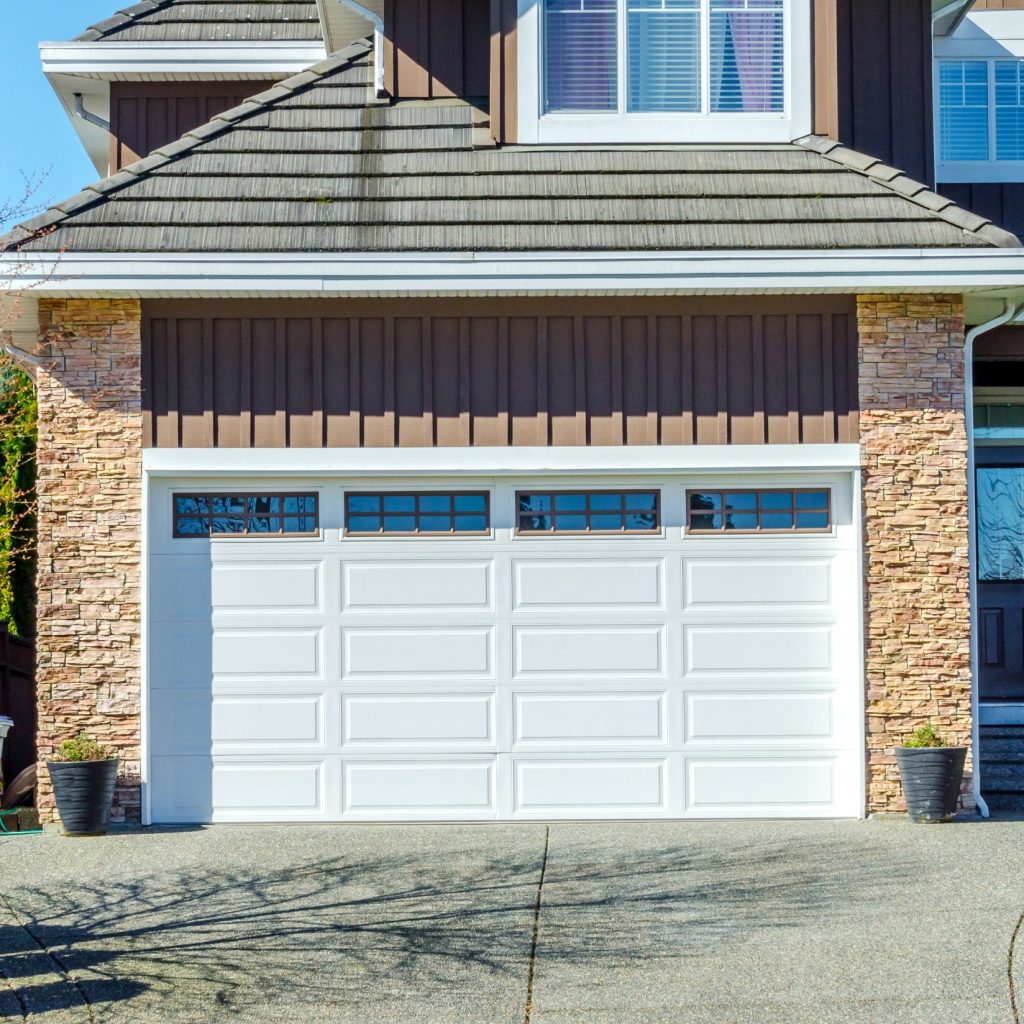
- Ensure that garage door openers are working
- Look for any obvious signs of pests
- Look for any damage to the mailbox, yard, or other signs of disrepair.
A Checklist for the Interior
- Test all faucets and check for any leaks
- Make sure that all drains are clear and adequately draining water
- Test the hot water
- Check that all light fixtures are accounted for and are in working condition
- Test all appliances, such as the stove, dishwasher and washing machine
- Look out for water damage and mold
- Check that windows and doors open, close and lock
- Inspect floors and walls for damage
(READ: Homebuying Process – How Long Does It Take to Close on a House?)
FINAL TIP: Gather all Relevant Paperwork
Before performing the walkthrough, you should ask in advance for any product information or manuals with respect to the repairs and replacements you agreed upon with the seller. You should request for receipts or invoices in order to verify that the seller completed the repairs.
The seller might be handy and offer to DIY home repairs, such as a tiny hole in a wall. Give everything a once-over and then confirm all replacements and repairs are up to snuff.


